When it comes to analogue film photography there are two costs I’m willing to bear - buying film stock (which is fairly unavoidable) & developing (which CAN be done at home but really unless you happen to be an alchemist that limits you to black and white).
A short while after taking the plunge to go analogue the costs for scanning negatives began to grate on me. The unhappy reality is that panoramic film is an unusual format and as my analogue usage is quite modest investing in a scanner felt a bit overkill, so I bore the cost of scanning for quite a while.
But earlier this year the subject came up again and I was determined to solve the issue of ‘scanning at home. I did a spot of research and the internet came up with the following solutions
1 A flat bed scanner 2 A drum scanner 3 A slide scanner 4 A digital camera with a copy table
Each of the methods has pros and cons, and they provide differing qualities at different price points. Some quite expensive. For better or worse I chose to adopt a method of scanning by using a digital camera. I already have a lot of digital camera equipment (body, lenses, tripod etc) so I was halfway there, (or so I thought).
Another reason I did this as I wanted a system flexible to cope with both my frame sizes ( xpan , and medium format film) which are quite different from each other. But my overarching idea was to get as much resolution out of my ‘scan’ as possible. This is because I have a habit of printing my work quite large (often several feet across).
The principle of scanning by digital camera is to hold your developed film level between a light source and the camera so that it’s backlit, and then take a photo, (or in my case a series of photos).The set up that I have created is not pretty, takes me ten minutes to put together, but it tidies away into a small box, which was also a consideration as we live in a small apartment.
These are not the easiest pictures to read however I hope you get the idea. (btw the extension tube shown is used to convert a 50mm prime lens into a macro lens


The heart of this contraption is a pair of focussing racks. Joined together these allow precise focussing by moving the camera in Z, and precise camera positioning in X. (where X is side to side and Z is forward and backward) . Adding a small slider and and L plate allow vertical mounting of the dlsr. Vertical mounting is desirable for me as it allows me to maximise resolution, an important consideration.


The negative is held in a magnetic film holder, which in turn slots into another homemade holder made of grey card. A small piece of opalescent acrylic diffuses the light source, avoiding moire patterns that maybe made by the ipad lightsource. The arrangement seen below is completed by the addition of a few bits from a film holder that i bought, but which proved unusable for my purpose in it’s original form.
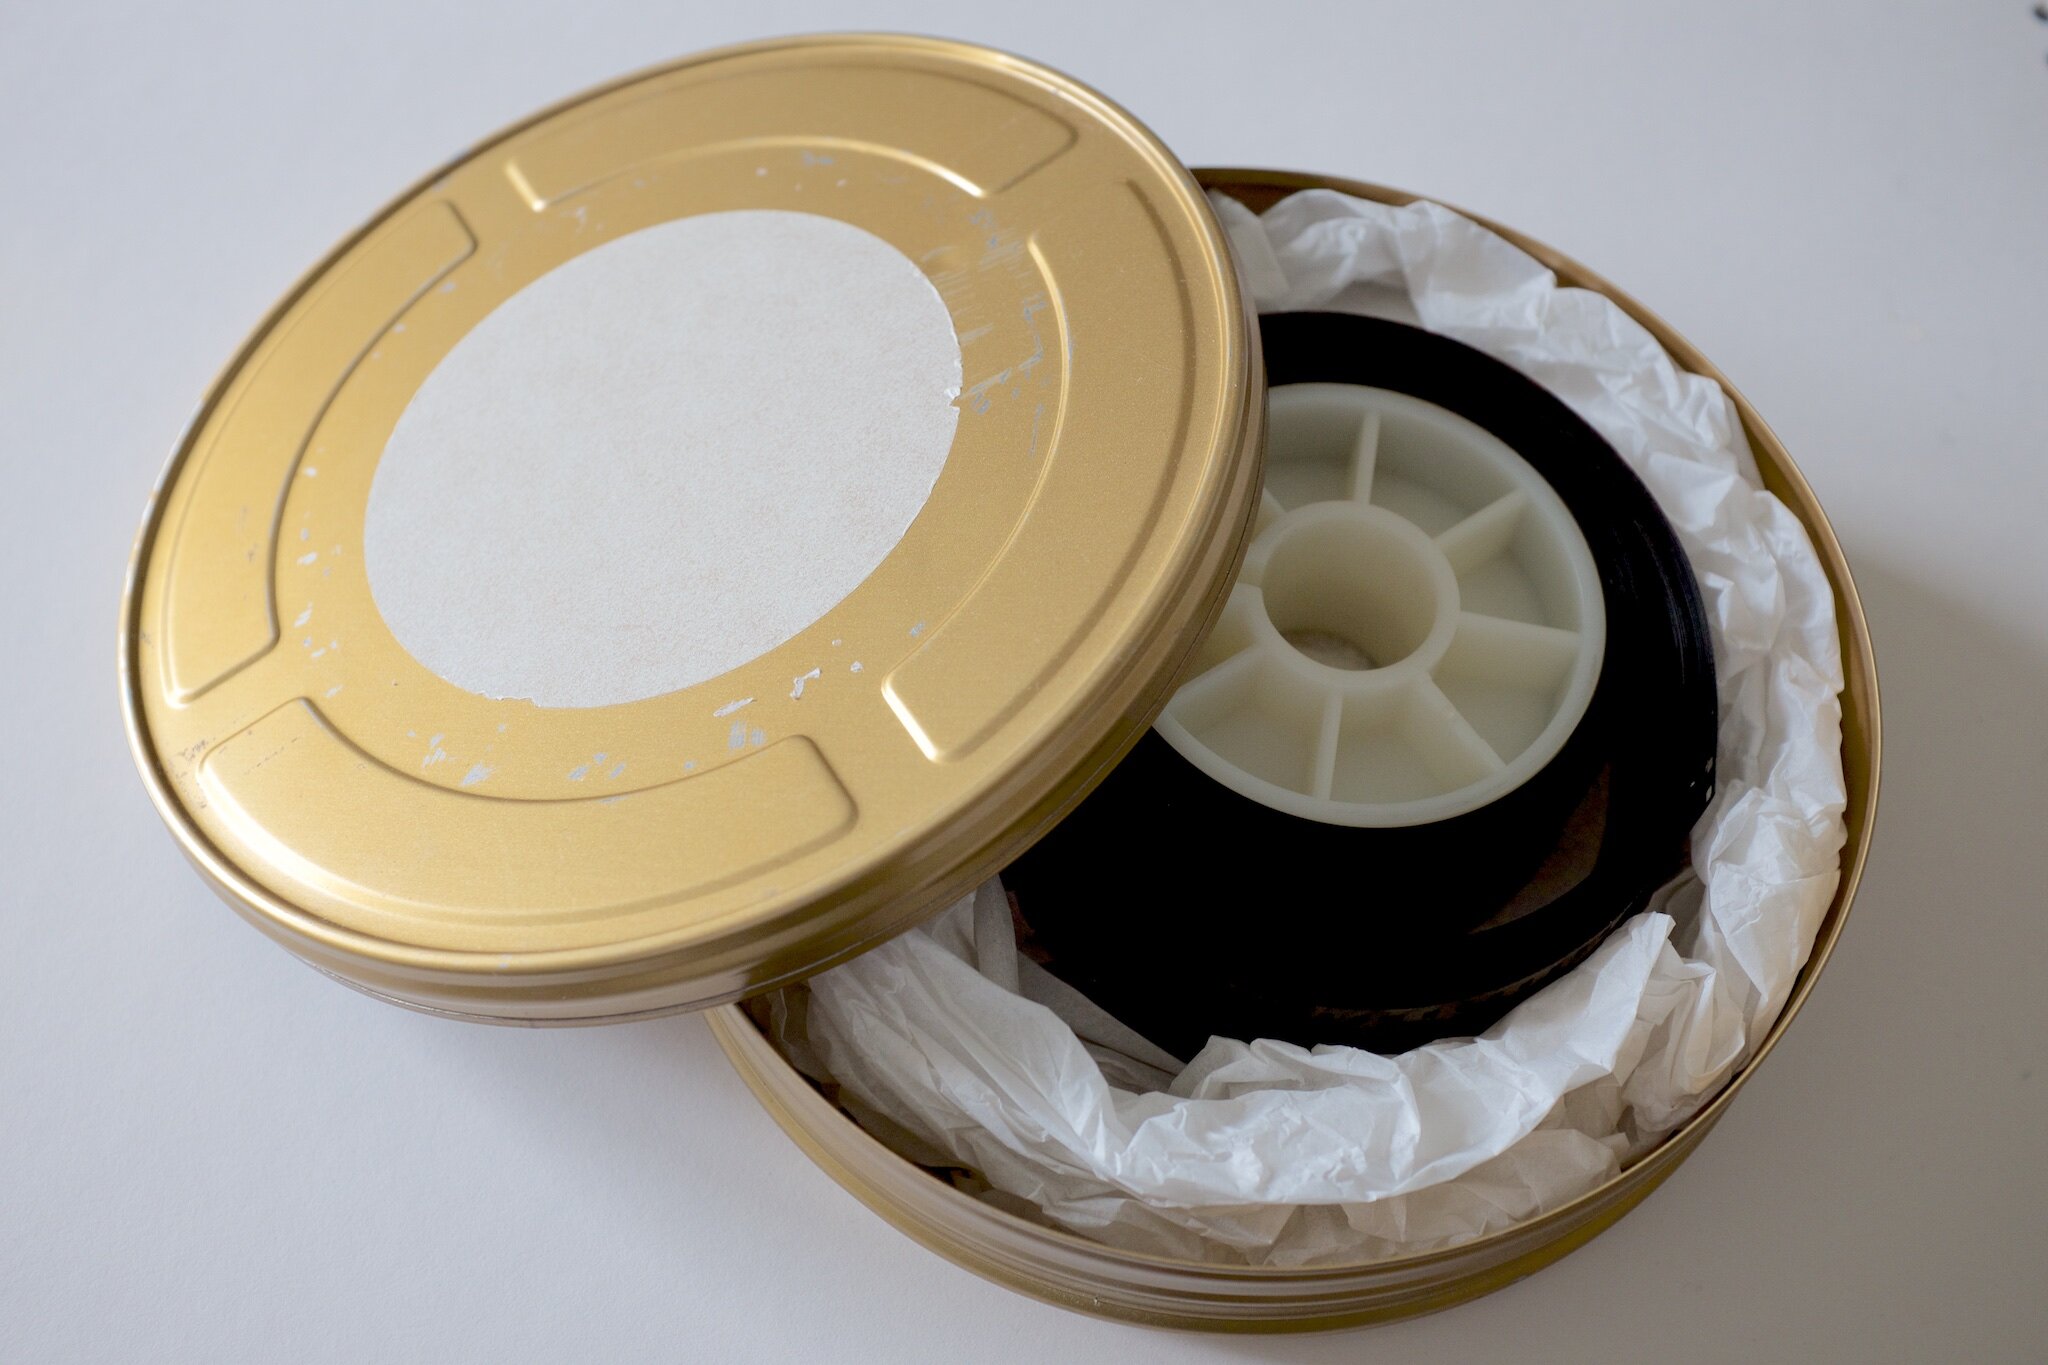
As I said at the beginning there are commercial copy stands, mostly they were quite large and expensive. And all the ones I saw work on a vertical alignment with the camera pointed at the ground or a table. As I didn’t fancy scrabbling around on the floor to do my ‘scanning’ I opted to make a horizontal version instead. My version is very ‘Heath Robinson’ using it is ‘fiddly’ and on the whole it’s a far less robust solution than other’s I’ve seen. But for the moment it does work quite well and I’m going to have fun finally digitising some of my 'negative’ archive (which is the roll of film shown in the first picture. BTW storing negatives is yet another minefield …. more about that another day)

So what are the results like? The answer is so far so good. The image below is one I took a couple of years ago with an xpan. I didn’t have it scanned at the time. I think the quality of the scan detail captured is excellent and to a degree proves the method. So my next hurdle is learning how to best process the negatives into positive images. But it may just prove easier to use transparency film and avoid a convoluted workflow.
The image is posted at 2k (whereas the actual scan is 9k)


(…. to be continued).